Managing Users
Available to: Account Administrators Minimum plan: Free
This guide covers adding, editing, and removing users from your TitanRDM account. Users are the people who access and work with your reference data — from developers building table structures to end users maintaining data.
Prerequisites
- Account Administrator group membership (the "Account Administrator" user group)
User License Types
Every user in TitanRDM has a license type that determines what they can do:
| License Type | Can Do | Cannot Do | Billing |
| Developer | Everything: define tables, deploy, promote, manage data, manage users, access API | — | Billed at the Developer seat rate |
| End User | View and edit data (with appropriate group membership) | Create/edit table definitions, deploy, promote, manage other users | Billed at the End User seat rate (lower cost) |
Choosing the Right Type
- Developer — for team members who design table structures, manage branches, or need API access
- End User — for team members who only need to view and enter reference data
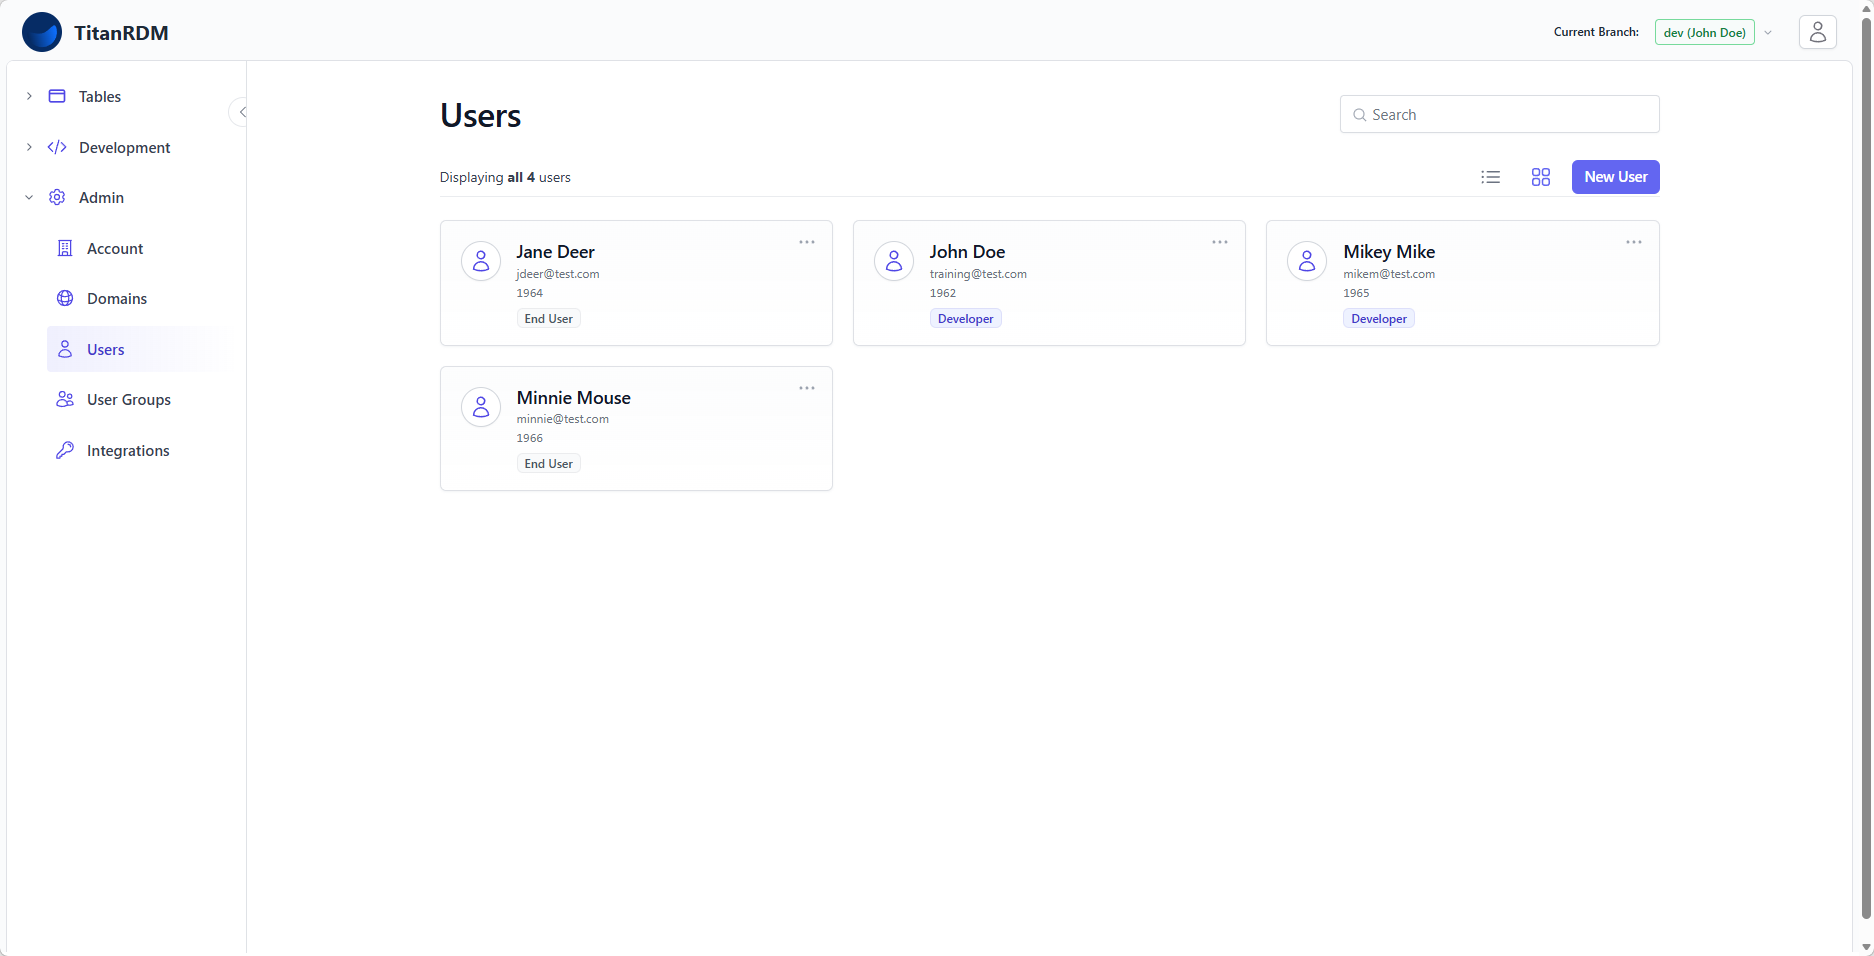
Viewing Users
- Navigate to Admin > Users
- The list shows all users in your account, ordered by first name
- Each entry displays the user's name, email, and license type
- Use the search bar to filter by name or email
The list is paginated (15 users per page).
Adding a User
- Navigate to Admin > Users
- Click New User
- Fill in the form:
| Field | Required | Description |
| First Name | Yes | User's first name |
| Last Name | Yes | User's last name |
| Yes | Must be a valid email address. Used for login. Must be unique across the account. | |
| License Type | Yes | Developer or End User — determines capabilities and billing rate |
- Click Create User
What Happens on Creation
- The user account is created.
- The user is sent a welcome email with a magic link for passwordless sign-in
- If the account has branching enabled and the user is a Developer:
- A private branch is automatically created for them
- They are added to the branch's user groups
- If branching is not enabled (or user is an End User):
- Their current branch is set to the Production branch
- On paid plans with an active Stripe subscription, the seat count is updated automatically
Plan Seat Limits
Your plan determines how many users you can have:
| Plan | Developer Seats | End User Seats |
| Free | 1 | 2 |
| Plus | Unlimited | Unlimited |
| Business | Unlimited | Unlimited |
| Enterprise | Unlimited | Unlimited |
Every plan includes 1 developer and 2 end users at no extra cost. On paid plans (Plus and Business), additional seats are billed per user ($35/developer, $15/end user per month). The Free plan is capped at its included allocation — if you attempt to add a user beyond the limit, the creation is blocked with a message explaining the limit. Upgrade to a paid plan to add more users.
Editing a User
- Navigate to Admin > Users
- Click the user you want to edit
- Click Edit
- You can change:
- First Name
- Last Name
- License Type
- Click Save
Changing License Type
You can upgrade an End User to a Developer or downgrade a Developer to an End User.
Upgrading to Developer: - The user gains access to Development features (table definitions, deployments, promotions) - Stripe seat quantities are updated
Downgrading to End User: - The user loses access to Development features - They can only be assigned to Editor and Data Manager user groups - Any existing group assignments that are incompatible with End User status remain but the user cannot exercise those permissions - Stripe seat quantities are updated
Warning: You cannot downgrade the last Developer in the Account Administrator group to an End User. At least one Developer must remain in the admin group to manage the account.
User Detail Page
Click a user's name to see their detail page, which shows:
- User properties — name, email, license type
Removing a User
- Navigate to Admin > Users
- Click the user you want to remove
- Click Edit
- Click Delete
- Confirm the deletion
What Happens on Deletion
- The user's account is permanently deleted
- They lose all access immediately
- Their user group assignments are removed
- Stripe seat quantities are updated (you stop being billed for this seat)
- Any private branches they owned remain but are no longer associated with an owner
Note: Deleting a user is permanent. If you want to temporarily disable access, consider removing them from all user groups instead.
Authentication
TitanRDM supports a single Magic Link Passwordless login authentication via email link.
Security Features
- Account lockout — accounts are locked after too many failed login attempts
- Session timeout — inactive sessions expire automatically
Related Pages
- User Groups — assigning users to groups for permissions
- Permissions — how the permission model works
- Account Settings — account-level configuration
- Billing and Usage — seat billing and plan limits
- Plans and Tiers — plan feature comparison