Working with Branches
Available to: Developers, Admins Minimum plan: Free (all plans include Dev/Test/Prod branching)
This guide covers the practical workflows for creating, switching, and managing branches in TitanRDM. For the conceptual background on the branching model, see Branches.
Prerequisites
- Any plan — all plans include Dev/Test/Prod branching
- Developer or Admin role to create and manage branches
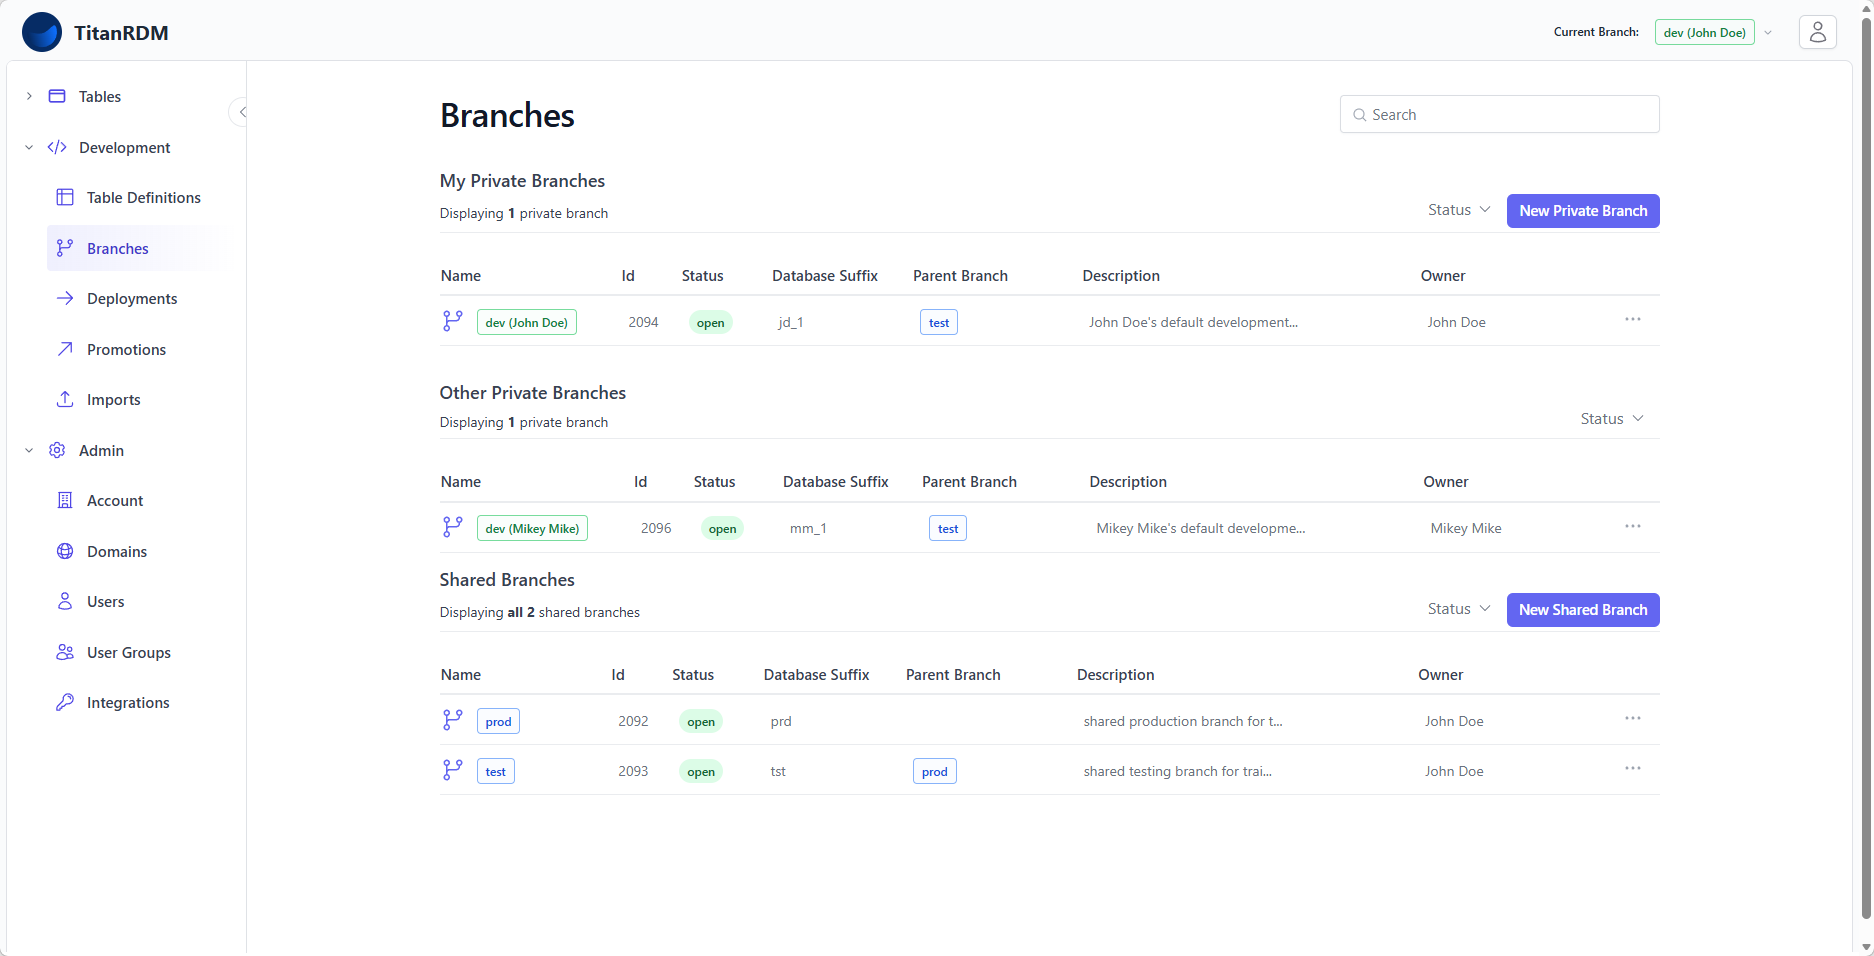
The Branches Page
Navigate to Development > Branches to see all branches in your account. The page is organised into three sections:
Permanent Branches (Shared)
Long-lived environment branches ordered by hierarchy (Production → Test → Development). These are created during account activation and cannot be deleted.
Your Private Branches
Feature branches you own. These are long-lived developer workspaces for making changes in isolation.
Other Private Branches
Feature branches owned by other developers that you have permission to see.
Each section shows: - Branch name and status (open/closed) - Parent branch relationship - Owner (for private branches) - Database suffix
You can filter by status (open, closed) and search across all branches.
Switching Your Current Branch
Your current branch determines which table definitions, deployments, and data you see throughout the application.
To switch, click the branch name badge in the top-right header area of the dashboard, then select the branch you want from the dropdown.
What Changes When You Switch
When you switch branches, the following updates immediately:
| Area | Behaviour |
| Tables sidebar | Shows deployed tables on the new branch |
| Table Definitions | Shows definitions on the new branch |
| Deployments | Filters to the new branch |
| Promotions | Filters based on branch type (from-branch for private, to-branch for shared) |
| Imports | Filters to the new branch |
| Data grid | Shows data from the new branch's physical tables |
| Branch badge | Updates in page headers to show your current branch |
Creating a Private Branch
Private (feature) branches let you work in isolation without affecting the shared Development branch.
Steps
- Navigate to Branches page
- Click New Branch
- Fill in the form:
| Field | Required | Description |
| Name | Yes | A descriptive name (e.g., feature/add-currency-tables). Must be unique among open branches. |
| Branch Type | Yes | Select Private. |
| Parent Branch | Yes | The branch this one is created from. Defaults to the integration branch (typically Test). Changes are promoted from this branch back to the parent. |
| Description | No | Optional context about what this branch is for. |
- Click Create Branch
Note: The database suffix is automatically derived for private branches — you do not need to enter one. TitanRDM generates a unique suffix based on your user.
What Happens on Creation
- A new database schema is created for the branch
- Default user groups are created (
Branch,Editor Branch,Approver Branch)Developer - You are automatically added to the branch's user groups
- The branch is set as your current branch
After Creation
Your new branch starts empty — it does not inherit table definitions from the parent branch. To bring table definitions into your private branch:
- Clone individual tables from the parent branch (see Cloning Tables)
- Bulk Clone multiple tables at once from the Table Definitions page
Once cloned, you can modify the table definitions and deploy them on your branch without affecting anyone else.
Editing a Branch
- Navigate to the branch's detail page (click its name in the branches list)
- Click Edit
- You can change the name, parent branch, and description
Note: The database suffix and branch type cannot be changed after creation because they are embedded in the physical schema name.
Deleting a Branch
When a private branch's changes have been promoted and you no longer need it:
- Navigate to the branch's detail page (click its name in the branches list)
- Click Delete
- Confirm the deletion
What Happens on Deletion
- The branch's database schema is dropped (all physical tables and data on that branch are permanently removed)
- The branch's user groups and permissions are destroyed
- The branch is removed from the branches list
Blocked Deletions
You cannot delete a branch that has open child branches. Close or delete child branches first.
You also cannot delete permanent shared branches (Production, Test, Development).
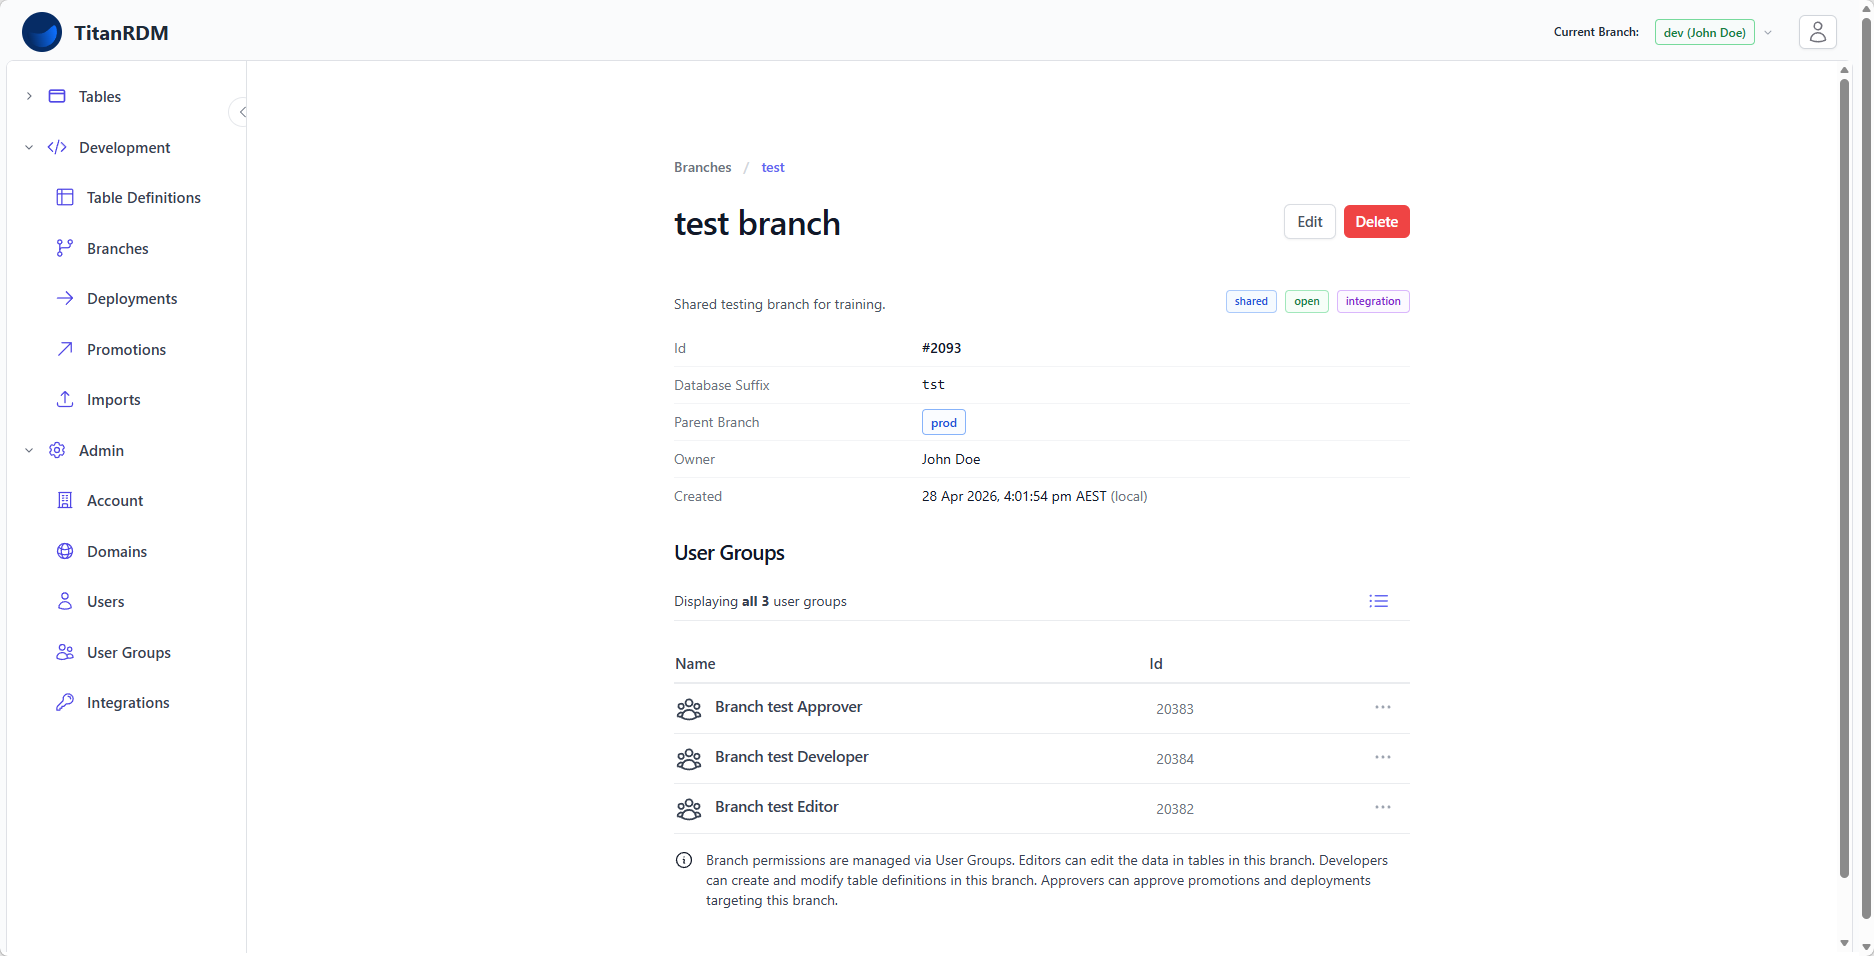
Branch Detail Page
Click a branch name to view its detail page, which shows:
- Branch properties — name, type, status, parent, database suffix, owner, description
- User groups — the auto-created groups (
Branch,Editor Branch,Approver Branch) with their membersDeveloper
Integration Branch
One branch in your account can be designated as the integration branch (typically Test). This is used as the default parent when creating new private branches. The integration branch flag can be set via the branch edit form.
Branch Permissions
To work with branches, users need appropriate permissions:
| Action | Required Permission |
| View branch details | Any authenticated user (shared branches visible to all; private branches visible only if you belong to a group with any permission on that branch) |
| Create a private branch | develop permission on the account (or admin) |
| Edit table definitions on a branch | develop permission on the branch and develop permission on the domain or table definition (or admin) |
| Deploy on a branch | No branch-level permission check (any authenticated user can create and execute deployments) |
| Approve promotions to a branch | approve permission on the branch (or admin) |
| Delete a branch | develop permission on the branch (or admin) |
Account administrators bypass all branch permission checks.
Workflow Example
A typical feature branch workflow:
- Clone the table definitions you need to your private branch
- Edit the column definitions on your branch
- Deploy on your branch to test the changes
- Promote from your branch to Test when ready
- Deploy on Test branch for integration/UAT testing
- Promote from Test to Production when ready
- Deploy on Production branch for production use
Related Pages
- Branches (Concept) — conceptual overview of the branching model
- Deploying Changes — applying changes on a branch
- Promoting Changes — moving changes to the parent branch
- Cloning Tables — bringing table definitions into a branch
- Permissions — how branch permissions work